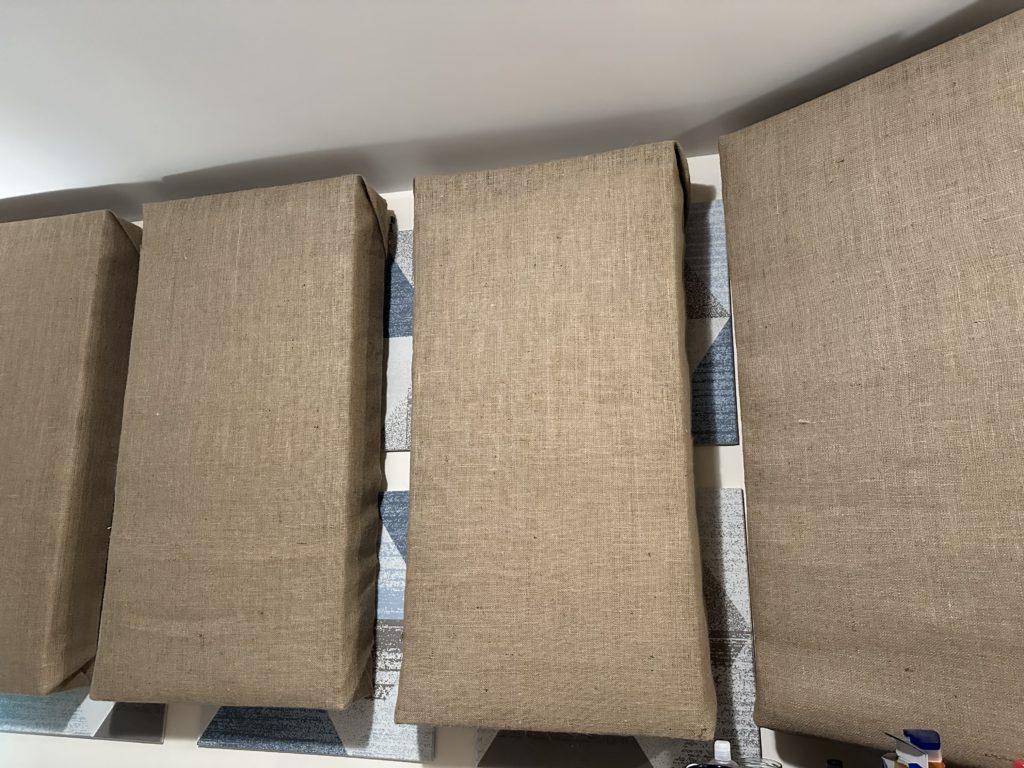
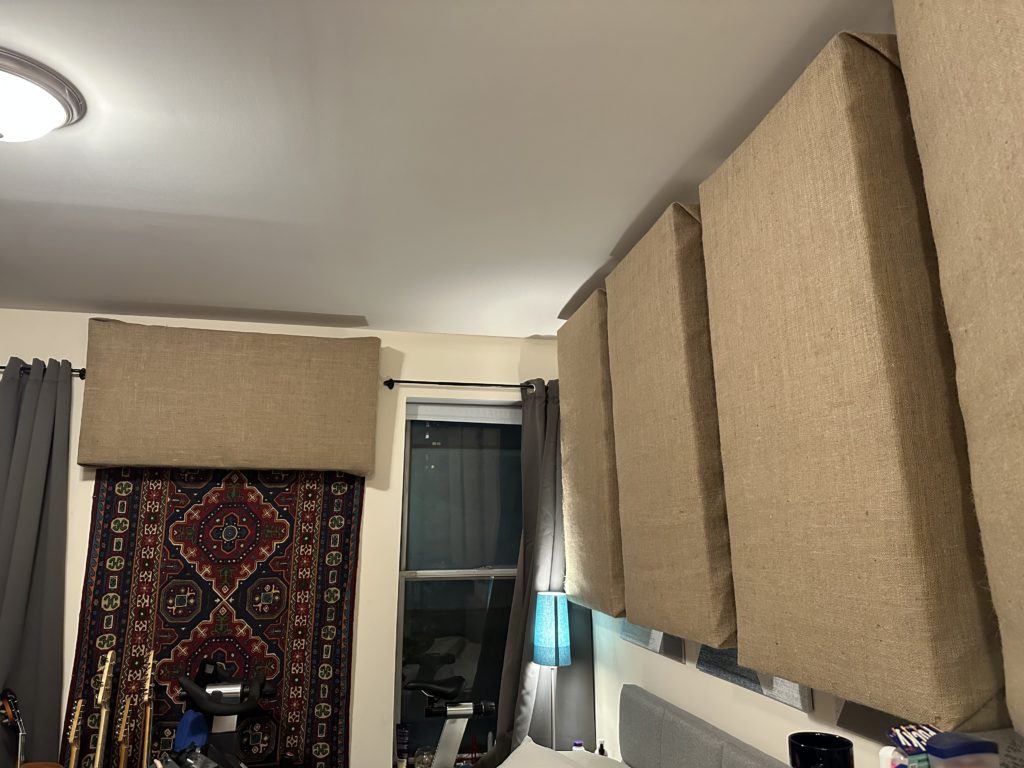
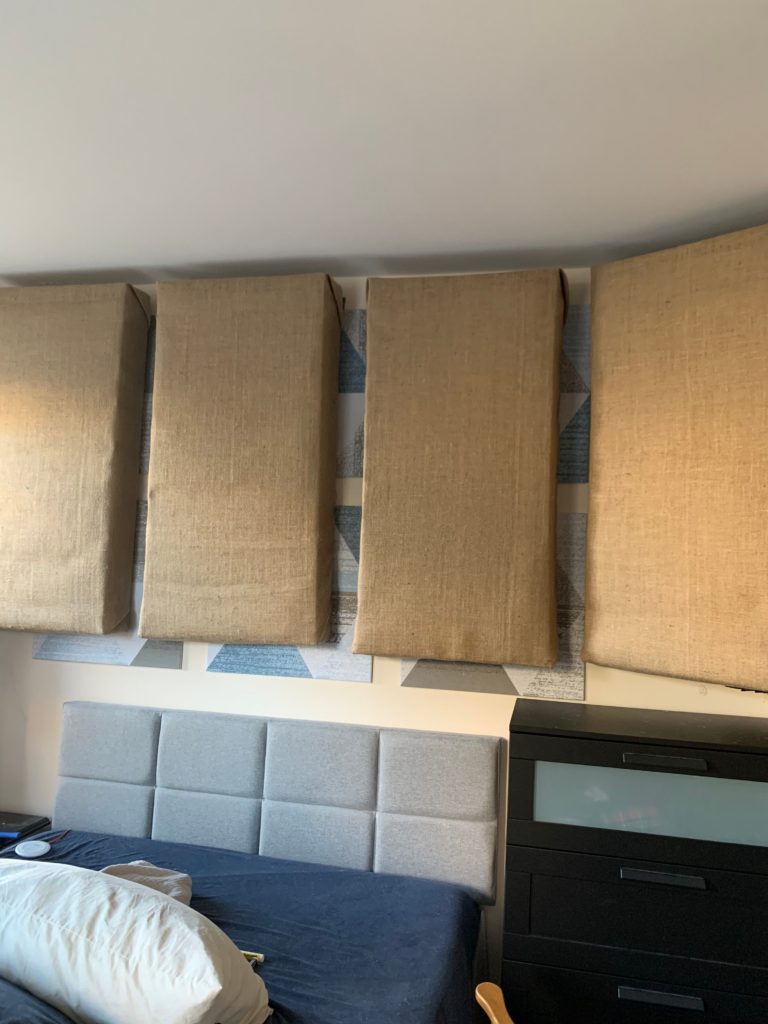
Havelock Wool absorbs sound incredibly well. This performance characteristic is often overlooked as insulation’s main job is to insulate. However, insulation can also help create a quiet living space, the benefits of which are widely documented. Indeed some mainstream insulation products are designed and marketed specifically as “soundproofing”. Well, it turns out the wool fiber is an excellent sound absorber and increasingly our DIY community is using our wool in creative ways to create quieter, calmer living spaces. What follows below is our friend Josh’s Havelock story on building DIY acoustic panels for the walls in his NYC apartment.

I had been wanting to sound treat my room for a while, but the cost of professional panels was a bit intimidating, especially with such high shipping costs. I ended up watching a bunch of DIY videos on YouTube and deciding it would be fun to try my hand at it
I started by planning out all my measurements. I knew 2’x4’ was a really common size and it made it easier than most common batts are built for those specs also. It was during the planning period that I did a lot of research on the safety, sonic effectiveness, and cost value of different insulations and fabrics. I ended up deciding on Havelock Wool because it was both effective as Rockwool Safe n Sound or Owens Corning 703, but I could safely do the construction in my living room. It also meant I could choose a looser fabric for my upholstery since I didn’t mind as much if a bit of wool ended up in the air compared to fiberglass or mineral wool (this ended up not being a problem anyway as the batts stayed together quite nicely).

Once I had ordered my burlap fabric and wool, I took a trip to the store and picked up a bunch of 6-foot long 2”x3” wooden studs, and a couple of 2’x4’ pieces of hardboard. My plan was to use the studs as a solid frame, and the much thinner but still sturdy hardboard as side panels to hold the shape of a rectangle underneath the burlap.
Once I had cut everything to size, I used some wood screws and wood glue to first make 2’x4’ rectangles out of the wood studs, and then wood glue and a staple gun to affix the hardboard side panels. The result was a 2’x4’x6” framed box. I then basically staple gunned the rest together, covering one side with fabric, stapling the havelock wool in to the wood stud on the inside (super easy with longer 1/4” staples) and then covered the front in fabric as well. The result was very sturdy and really effective, even when I just had them lying in my hallway waiting to be hung.
To hang the panels I affixed some D rings to the frame, fabricated some wire rope for suspension around the d rings, and then hung the other loop of the wire rope onto heavy-duty picture hangers that I hammered into my drywall.
All in all, it was a very fun DIY project that got me a significant increase in the sound quality of my room. I play a lot of music there, so I appreciate the treatment. I also have a set of studio monitors set up for mixing, and the response is way more even and flat throughout my room (not just subjectively, but through actual microphone/software measurements). Beyond its brute effectiveness, it was especially a pleasure working with Havelock Wool since I just didn’t have to think about PPE or toxic chemicals at all throughout the process.


Leave a Reply